Sealing a concrete driveway involves four core steps: assess the surface, deep clean and etch, repair cracks, and apply the sealer in even coats. In Central Florida, timing the job for the dry season and matching the sealer chemistry to the driveway’s condition matter just as much as the application technique. Homeowners who want professional-grade results across Orlando and Orange County rely on Coating Designs for premium driveway coatings and sealing services.
Central Florida’s rainy season runs from roughly late May through October, closing the window for reliable driveway sealing. Sealers cure through evaporation and chemical cross-linking. Both processes slow or fail entirely in high humidity or on damp concrete. The best time to seal an Orlando driveway is the dry stretch between November and April, when overnight temperatures stay above 50 degrees and rain events are far enough apart to give the sealer 24 to 72 hours to cure between application and the next storm. Here’s the actual step-by-step for homeowners who want to handle it themselves—and the honest signs that a job needs a pro instead.
When to Seal a Concrete Driveway in Central Florida

Timing is the single biggest factor most DIY sealing projects get wrong. A sealer applied on a damp slab or during a humid afternoon in July commonly fails within a season. The surface becomes hazy, tacky, or peels in patches within months.
For the best results in Orlando, look for a dry two- to three-day window with low humidity and temperatures between 55°F and 85°F. Plan to start early in the morning so the sealer has plenty of time to dry during the driest part of the day. Newly poured concrete needs to cure at least 28 days before receiving any sealer. That timeline often becomes longer due to Florida’s humidity. For a Kissimmee homeowner planning the job around a weekend, the November-through-April window offers the most consecutive dry days and lowest overnight humidity for reliable curing.
Step 1: Assess the Surface Condition
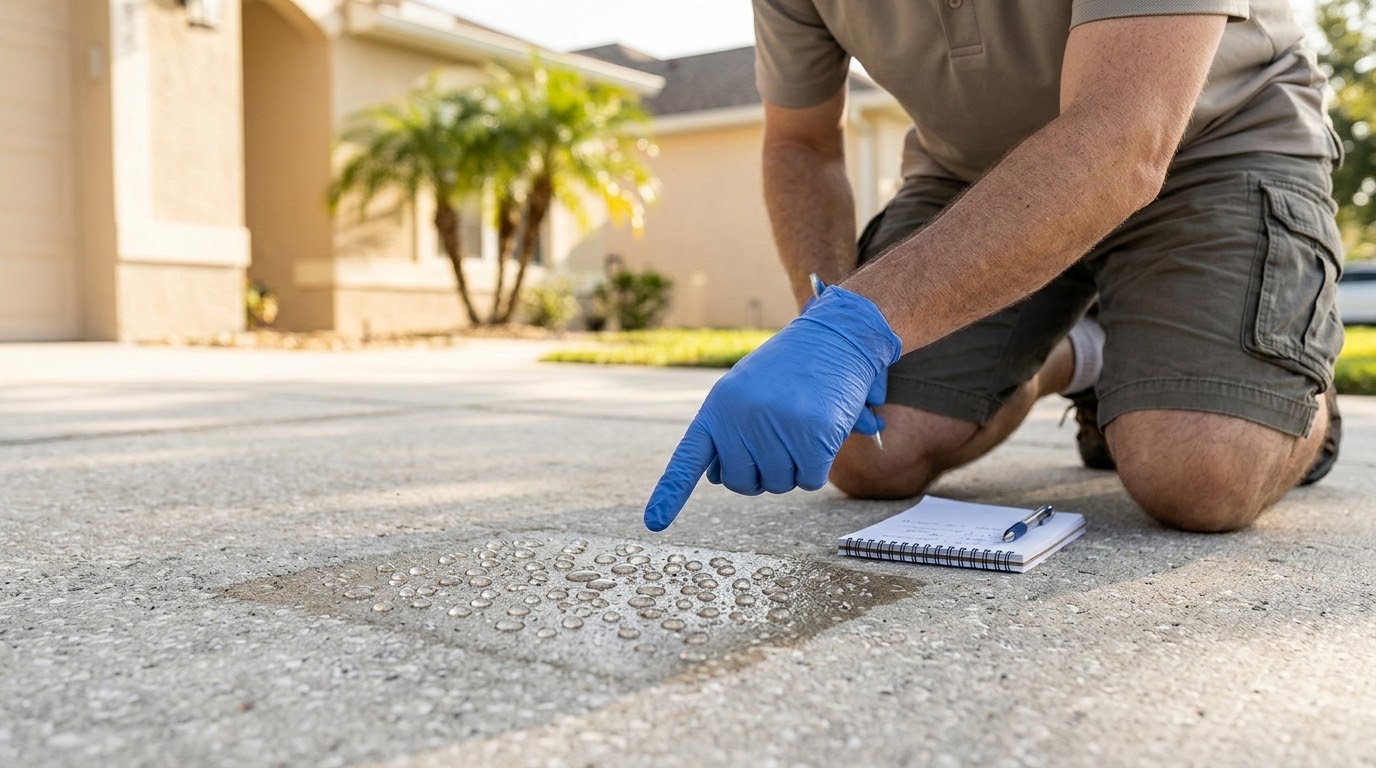
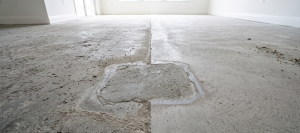
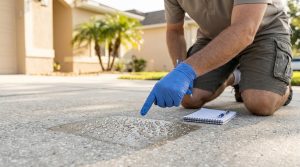
Walk the driveway and note what needs repair before any sealing begins. Look for hairline cracks on the surface, medium cracks (up to 1/4 inch wide with faces still level), and displaced cracks (one side risen or dropped). Also note oil stains, efflorescence (white powdery deposits), and any old sealer that’s peeling or hazed.
If the driveway has an existing sealer, perform a small water-bead test: sprinkle water on a few spots. If the water beads, the old sealer is still active. A new sealer may or may not bond, depending on the product. If the water absorbs into the concrete, the previous sealer has worn off and the surface is ready resealing.
Step 2: Deep Clean and Etch
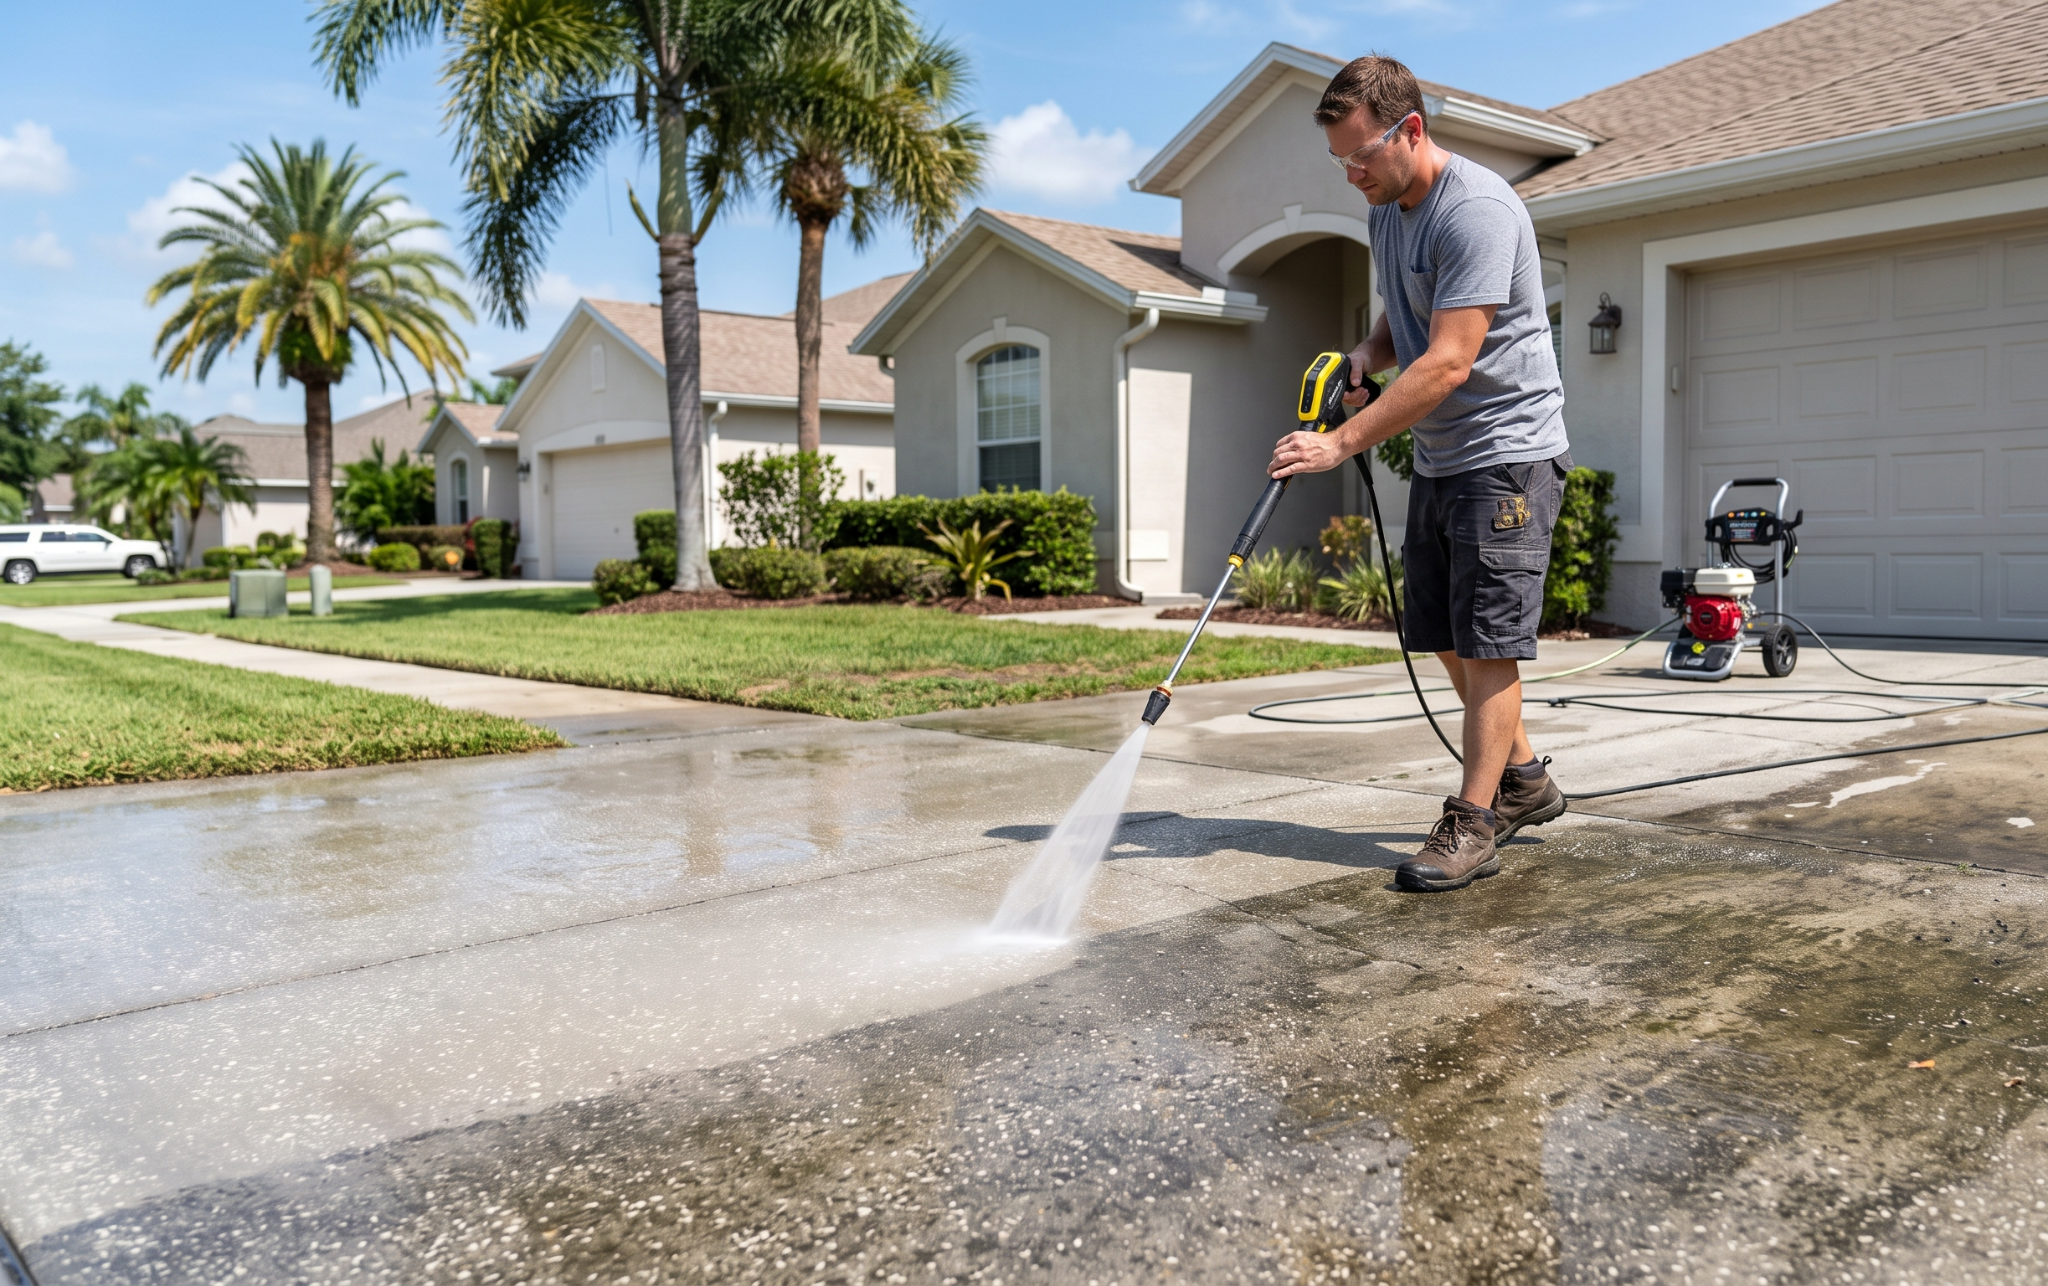
A sealer bonds only as well as the surface it’s applied to. Skip this step and the sealer lifts within a season regardless of how carefully it’s applied afterward.
Start with a broom to clear loose debris. Then apply a concrete degreaser to any oil-stained areas, letting it sit per the product’s instructions (typically 15 to 30 minutes) before scrubbing with a stiff brush. Pressure wash the entire surface at 3,000 to 3,500 PSI, holding the tip 12 to 18 inches from the concrete and working in overlapping passes to remove dirt, algae, mildew, and surface contamination.
For a first-time seal or heavily weathered concrete, follow the pressure wash with an etching solution (typically a mild muriatic acid or a non-hazardous etch product) to open the pore structure and improve sealer penetration. Rinse thoroughly and allow the surface to dry completely, usually 24 to 48 hours, depending on humidity.
Step 3: Repair Cracks and Imperfections
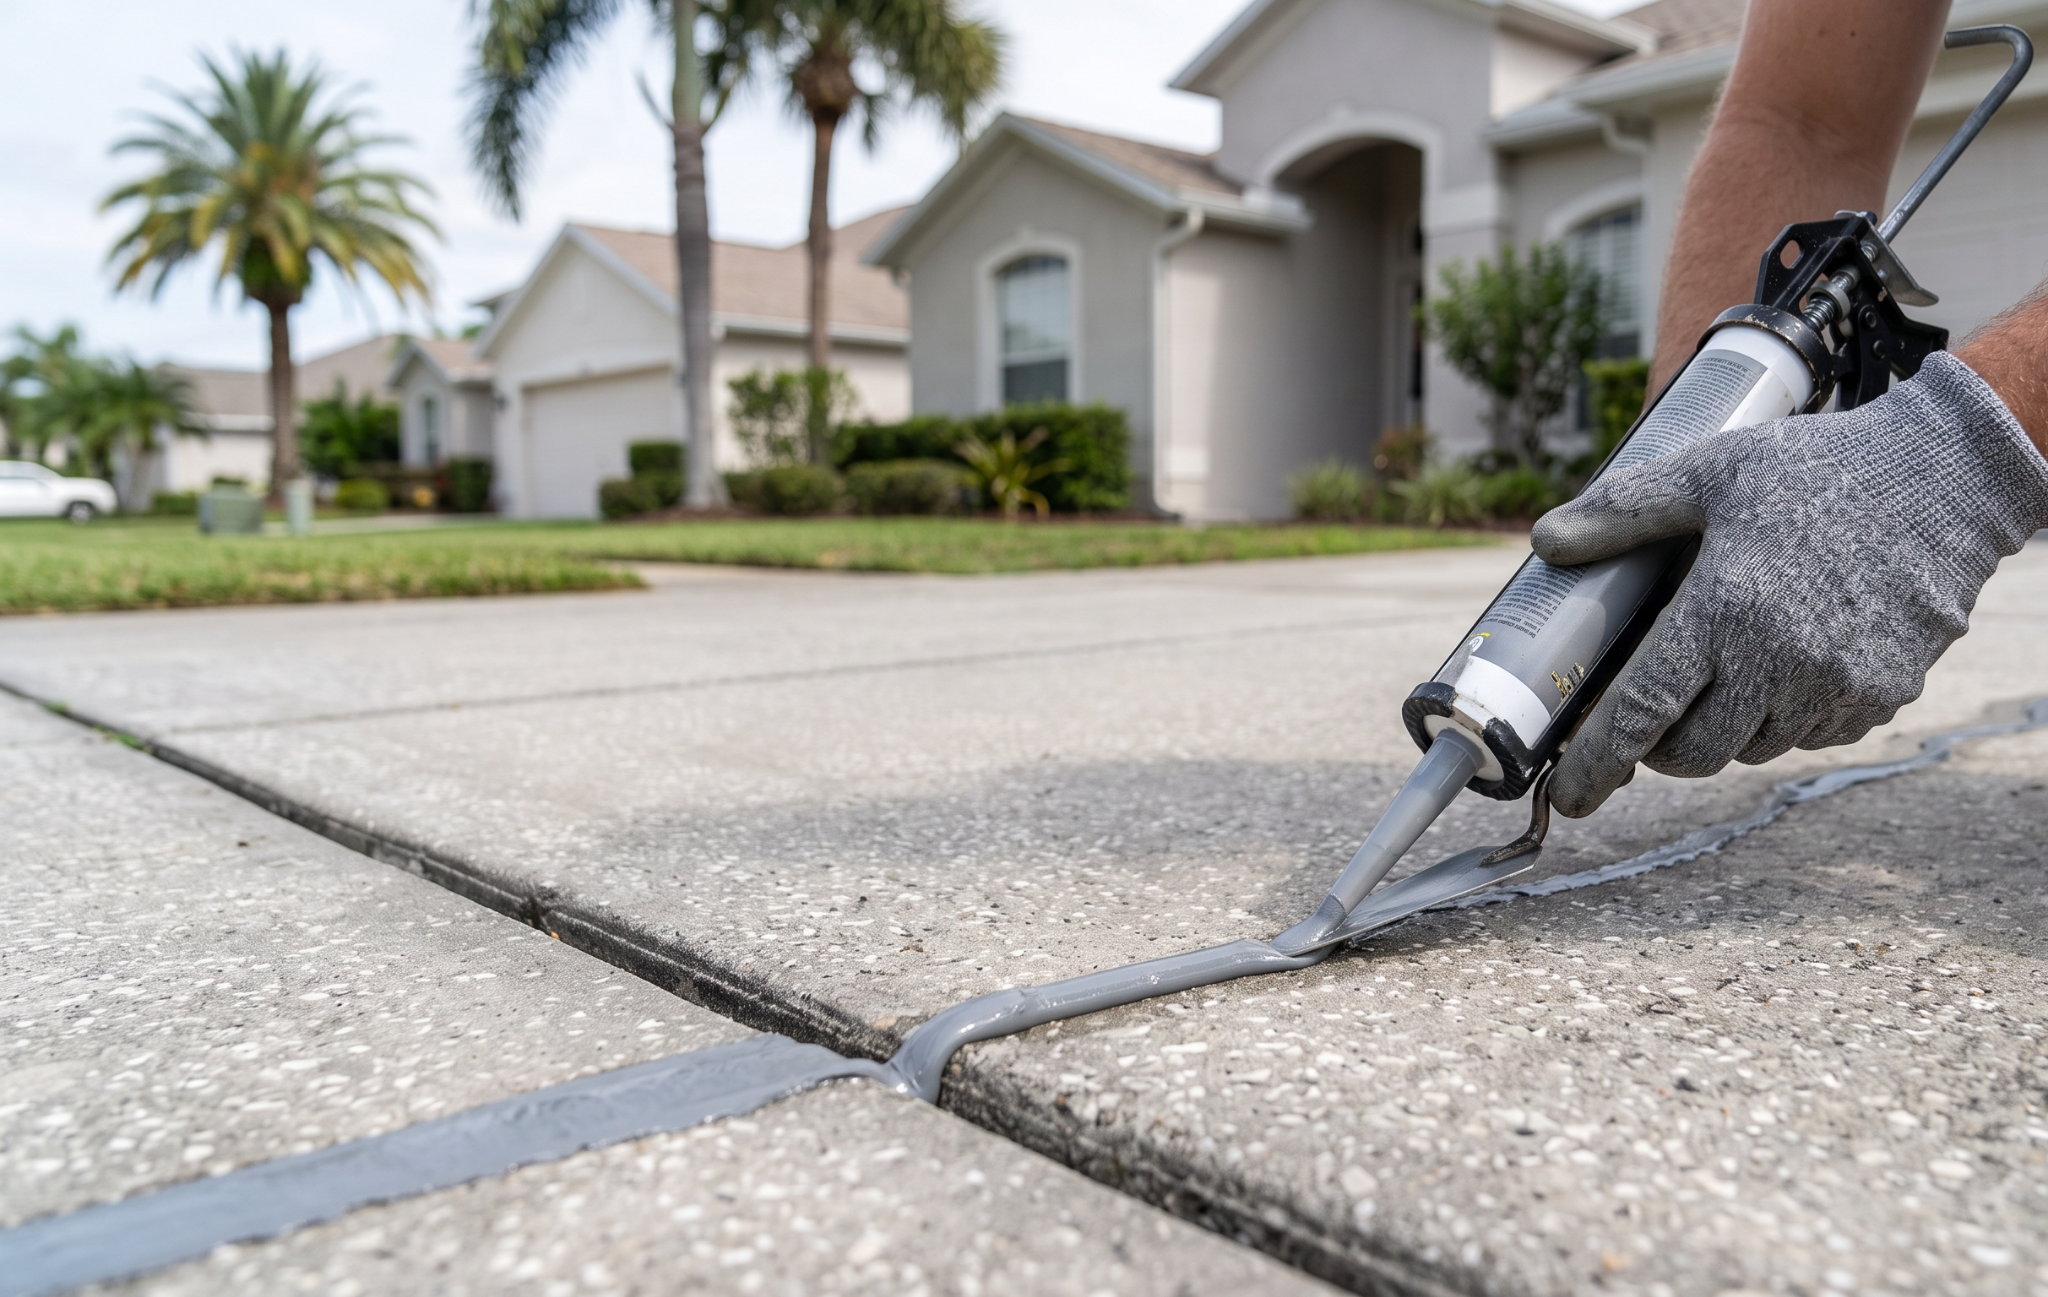
Address any cracking before applying the sealer. Sealers do not fill cracks. They seal the surface as it exists. Following these crucial tips for concrete care ensures that the structural base remains sound before it is locked under a protective coating.
For hairline cracks (less than 1/16 inch), a thin bead of concrete crack sealer or a polyurethane-based patch fills the void and remains flexible enough to move with the slab. For medium cracks (up to 1/4 inch), rout the crack slightly with a hand grinder or crack chaser to create a clean edge, then fill with a self-leveling polyurethane sealant. Tool the surface flush with the surrounding concrete.
For displaced cracks or areas of spalling, you cannot rely on simple sealants. Learning how to fixed a cracked driveway with major structural damage often requires patching with a concrete resurfacer or, in more severe cases, a professional evaluation. A sealer over an unstable crack will telegraph the movement and fail along the same line within a season.
Step 4: Apply the Sealer
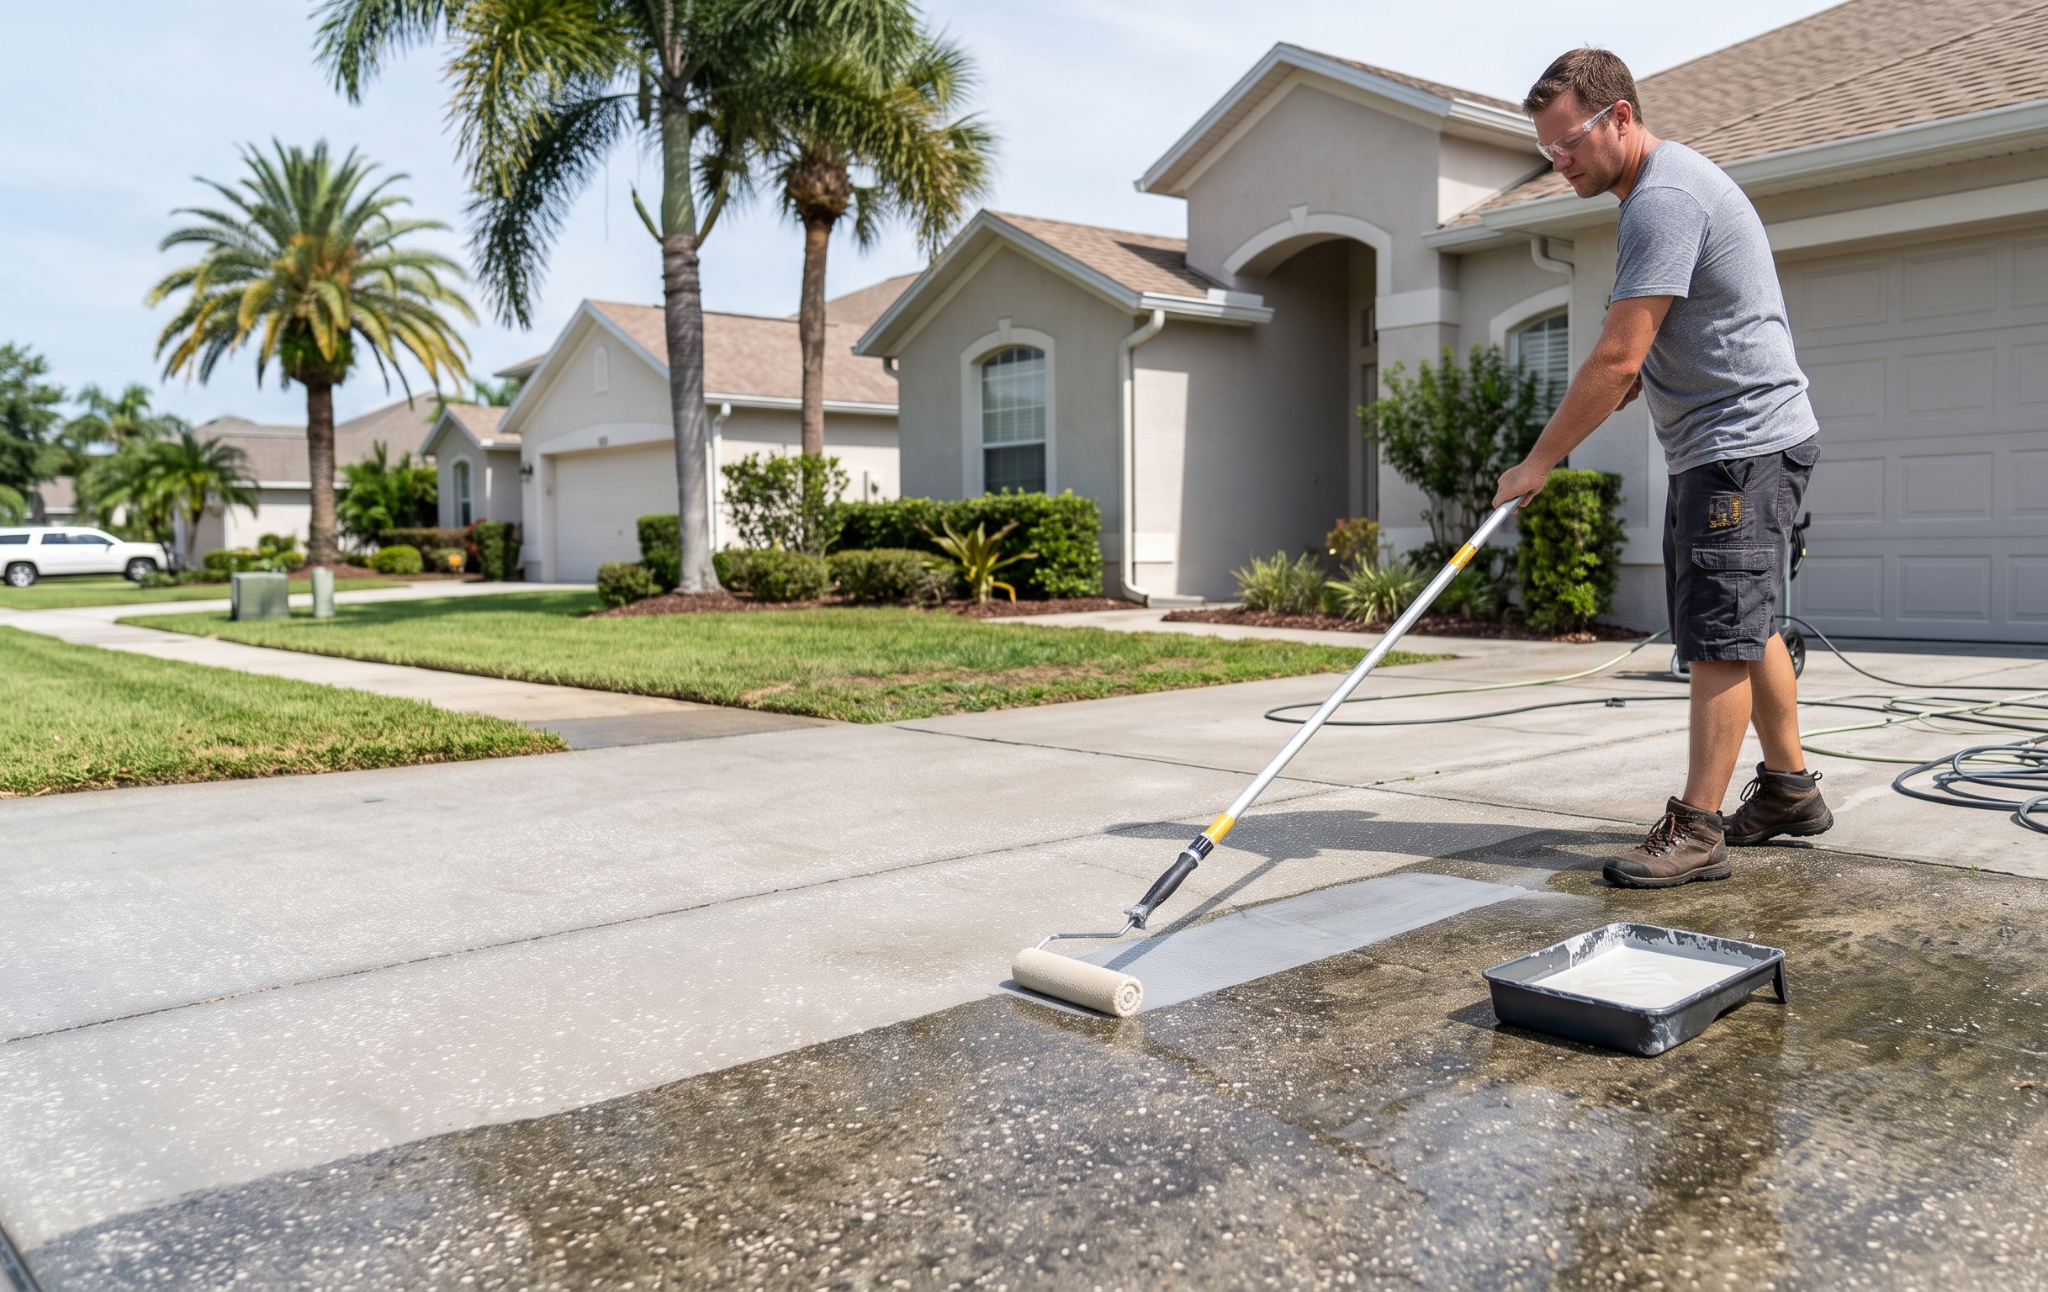
With prep complete and the driveway fully dry, apply the sealer according to the manufacturer’s directions. Most residential-grade acrylic sealers are applied with a low-nap roller or a garden sprayer. Silane or siloxane penetrating sealers are typically applied with a sprayer only.
Work in 4- to 6-foot sections, maintaining a wet edge to avoid lap marks. Apply the sealer in thin layers. Two thin coats produce a better finish than one thick coat because a thick application can trap solvents and cause hazing. Allow the first coat to dry following the manufacturer’s recommendation (usually two to four hours) before the second coat.
After the final coat, keep the driveway free of foot and vehicle traffic per the sealer’s cure schedule—commonly 24 hours for foot traffic and 48 to 72 hours for vehicles.
When to Skip the DIY and Call a Contractor

The steps above are learnable, and a competent DIYer can produce a decent one-year sealing job on a driveway in good condition. However, the DIY approach becomes significantly more challenging on driveways that need more than a topical sealer: displaced cracks, spalling, previous coating failures, or moisture-driven bubbling. Each of those issues points to a slab or surface issue that a sealer alone won’t fix. Applying one over the top usually accelerates the failure it was meant to prevent.
Professional installation also unlocks coating systems homeowners can’t source directly: polyaspartic and polyurea driveway systems that carry 15- to 20-year service lives instead of the 2- to 3-year cycle a homeowner-grade acrylic sealer delivers. For an Orlando driveway that’s exposed to daily UV and afternoon storm cycles year after year, the cost of a professionally installed concrete coating usually wins over a decade.
Frequently Asked Questions
How often should I reseal a concrete driveway in Orlando?
A concrete drieway in Orlando generally needs resealing every two to three years if you’re using homeowner-grade acrylic sealers. This schedule maintains the driveway’s barrier against UV, moisture, and staining. Silane or siloxane penetrating sealers can hold five to seven years. Professional polyaspartic or polyurea systems installed over prepped concrete can last 15 to 20 years before a recoat is needed.
Can I seal my concrete driveway if it has cracks?
Yes, you can seal your concrete driveway with cracks as long as the damage is surface-level and stable. Repair hairline and medium cracks before sealing. If cracks are displaced (one side higher than the other) or actively widening, the underlying slab has moved and sealing over the top won’t hold. Call a pro for evaluation before spending on materials.
Is DIY driveway sealing worth it in Central Florida?
DIY driveway sealing in Central Florida can be worth it if the driveway is in good condition and the homeowner is comfortable with prep work. DIY sealing protects the surface for two to three years before needing a recoat. For longer protection that offers UV stability and stain resistance, the professional-grade systems Coating Designs lasts years longer, offsetting the higher up-front cost on almost any Orlando property.
Tired of Spending Your Weekends Scraping and Resealing Concrete?

While tackling a DIY driveway sealer can seem like a great weekend project, Central Florida’s brutal humidity and sudden downpours make it incredibly easy to trap moisture under the surface, leading to ugly flaking, cloudiness, and bubbles within just a few months. Whether you’re trying to time a tricky weather window or you’re simply tired of reapplying cheap acrylic sealers, you don’t have to keep doing things the hard way.
Let us handle the heavy lifting, deep diamond grinding, and precision prep work for you. Contact Coating Designs today at 1-888-8EPOXY8 to set up a free, friendly driveway evaluation. We’ll look over your concrete, map out any crack repairs, and give you a clear, honest price for a commercial-grade finish built to last.

Reinaldo Morera is the founder of Coating Designs in Orange County, FL. Specializing in advanced concrete coatings and decorative finishes, Reinaldo combines innovative technology with expert craftsmanship to transform ordinary floors into extraordinary spaces. He is a trusted local voice for those looking to enhance their property with resilient, low-maintenance flooring.