The allure of a metallic epoxy floor is undeniable. These floors are more than surfaces; they’re seamless, three-dimensional works of art that transform any space from mundane to magnificent. With the rise of DIY tutorials, many homeowners in Orange County, FL, are tempted to tackle this project themselves, drawn by the promise of a custom, high-end look.
While many online tutorials make learning how to do metallic epoxy floors look simple, achieving a truly stunning, durable, and long-lasting metallic epoxy floor requires a level of expertise that few DIY projects can match. Read on to find out what the process entails.
The Allure of Metallic Epoxy: Artistry Meets Function
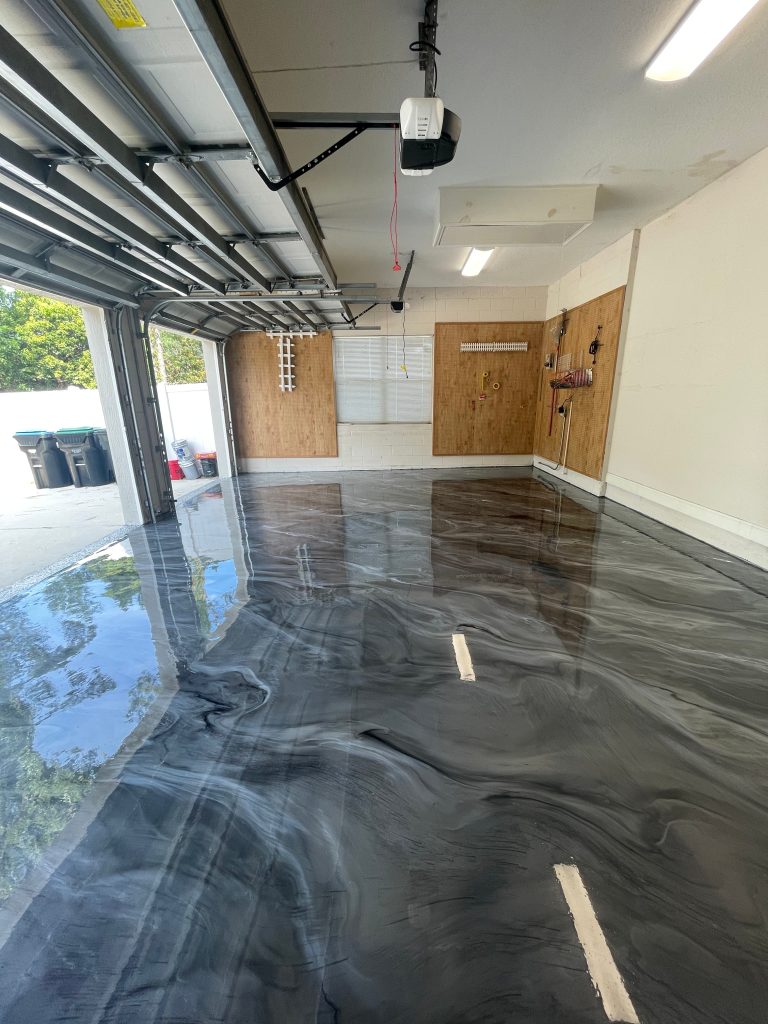
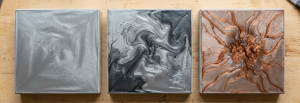
Metallic epoxy is a specialized coating system that uses a clear epoxy base mixed with metallic pigments. When applied, these pigments are manipulated with brushes, rollers, and even air blowers to create a flowing, pearlescent effect that mimics lava, marble, or rippling water. The result is a floor that is completely unique, offering a high-gloss finish that is visually dramatic and incredibly functional.
This type of flooring is particularly popular for residential garages, basements, retail spaces, and showrooms. It offers all the benefits of traditional epoxy: extreme durability, resistance to stains, chemicals, and abrasion, plus unparalleled aesthetic appeal.
The DIY Metallic Epoxy Process: Where the Pitfalls Lie
If you’re researching how to do metallic epoxy floors, you’ll find a multi-step process that looks something like this:
Step 1: Surface Preparation
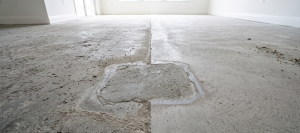
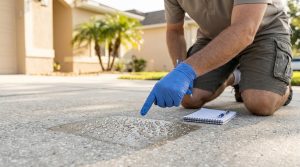
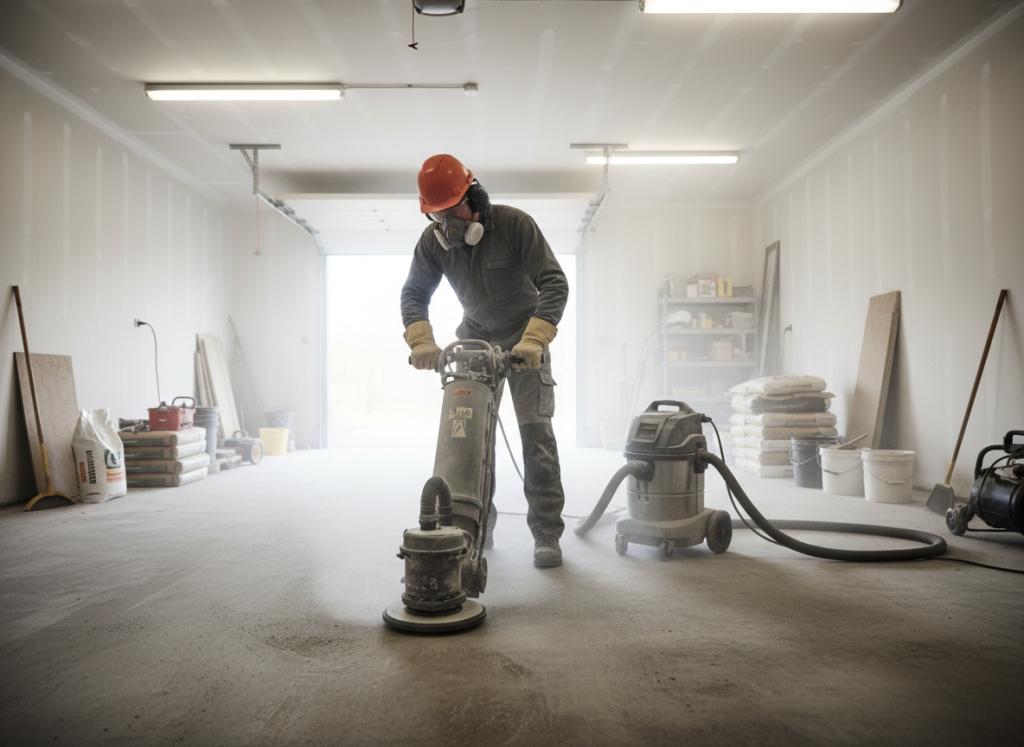
This is the most critical step. The concrete must be thoroughly cleaned, degreased, and profiled. Professionals also test moisture vapor levels before coating, since undetected moisture can cause bubbling, discoloration, or complete coating failure within months.
For a professional-grade bond, you’ll need heavy-duty diamond grinding equipment, not just acid etching kits found at home improvement stores. Without proper preparation, the epoxy will delaminate or peel prematurely.
Step 2: Crack and Joint Repair
All cracks and divots must be meticulously filled and leveled. Any imperfection in the concrete will be magnified by the high-gloss finish of the metallic epoxy.
Step 3: Primer Coat Application
A high-quality primer is essential for adhesion and to seal the concrete, preventing air bubbles (outgassing) from ruining the final finish.
Step 4: Metallic Epoxy Application
The pigmented epoxy is poured and spread before the metallic particles are moved and blended to create the desired effect. This requires speed, precision, and an artistic eye. The working time is short, and mistakes are permanent. Even slight variations in how the material is poured or moved can significantly affect the final appearance, making consistency difficult without extensive hands-on experience.
Step 5: Topcoat Application
A clear, protective topcoat, often polyaspartic or polyurethane, is applied to seal the metallic layer and provide UV stability and scratch resistance.
The difference between a DIY attempt and a professional concrete coating installation is most apparent in the preparation and the application of the metallic layer. A DIY floor often results in uneven color distribution, visible roller marks, trapped bubbles, and premature peeling.
Why Professional Installation Is the Only Way to Guarantee Quality

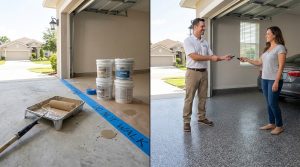
At Coating Designs, our proven process eliminates the risks of DIY, delivering a beautiful floor backed by our 25-year warranty.
Industrial-Grade Surface Preparation
We use state-of-the-art diamond grinders to achieve the optimal Concrete Surface Profile (CSP). This mechanical preparation is the foundation of a coating that will last for decades.
Premium, High-Solids Materials
The quality of the epoxy and metallic pigments matters immensely. We use only the highest-grade, 100% solids epoxy and polyaspartic topcoats, which offer superior durability and a richer, deeper metallic effect than the thin, low-solids kits available to consumers.
Artistic Expertise
Our technicians are skilled artisans who understand the fluid dynamics of metallic epoxy. They know how to manipulate the pigments to create the stunning, custom look you envision, ensuring a seamless, professional finish every time.
Experience the Coating Designs Difference
As concrete coating experts in Orange County, FL, Coating Designs understands the local climate and its impact on concrete. Our systems are formulated to withstand the high humidity and intense UV exposure of the Florida sun. When you choose us, you’re choosing a floor that’s built to last.
If you’re considering a metallic epoxy floor for your home or business, the question shouldn’t be how to do metallic epoxy floors yourself, but rather, “How can I ensure this investment is protected?” The answer is simple: trust the experts.
Ready to transform your space into a metallic epoxy masterpiece? Contact us today for a free, no-obligation quote.

Reinaldo Morera is the founder of Coating Designs in Orange County, FL. Specializing in advanced concrete coatings and decorative finishes, Reinaldo combines innovative technology with expert craftsmanship to transform ordinary floors into extraordinary spaces. He is a trusted local voice for those looking to enhance their property with resilient, low-maintenance flooring.