When Orlando and Winter Garden homeowners want to learn how to do epoxy floor coating, it’s usually because they want to save money on their garage floor transformation. We get it—professional installation costs add up, and DIY videos make the process seem simple. But here’s the truth: while epoxy floor coating is absolutely doable for motivated DIYers, it’s more challenging than most videos suggest, especially in Florida, where humidity and heat create issues that homeowners in northern regions never have to think about.
This guide from Coating Designs shows you how to apply epoxy floor coating correctly—the steps you can’t skip, the common mistakes that ruin projects, and the honest moments where calling a professional actually saves money.
Before You Start: What You Need To Know About DIY Epoxy Floor Coating
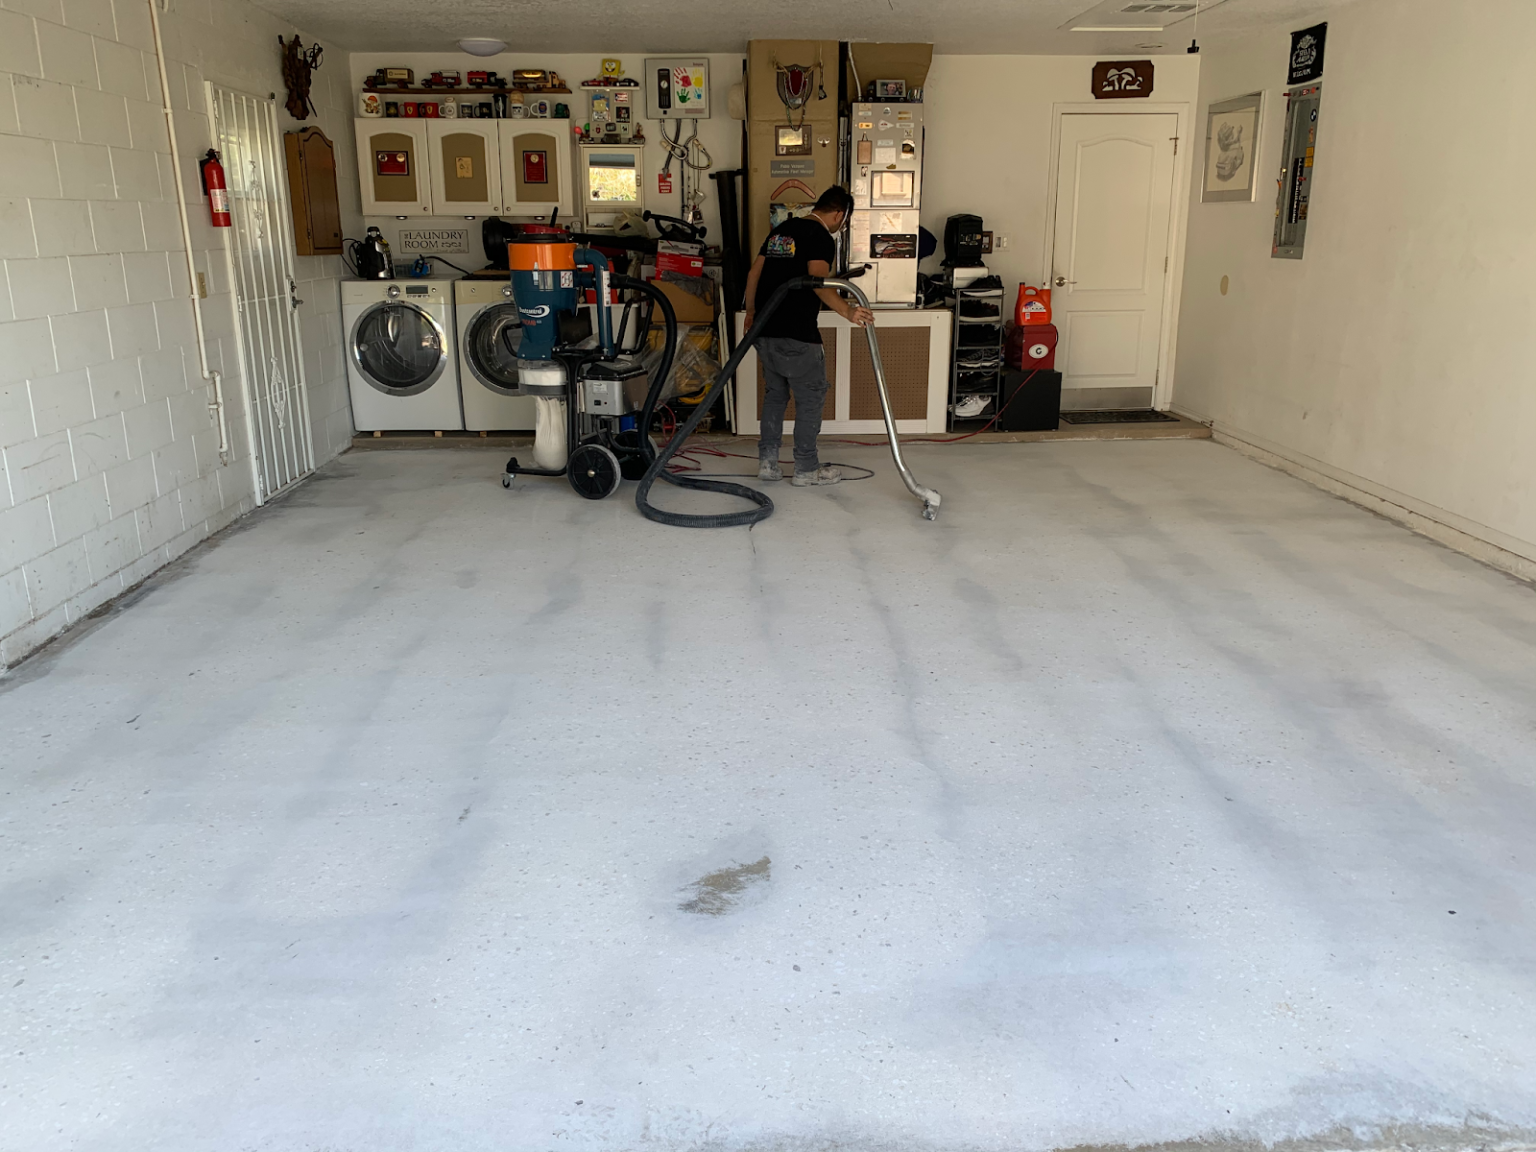
DIY can work if you’re handy, detail-oriented, and willing to invest significant time. Professional installation costs more upfront but eliminates mistakes and guarantees results. The difference between successful DIY and disasters usually comes down to realistic self-assessments and proper preparation.
Plan on 2 to 3 full days minimum for epoxy floor coating. You’ll need a concrete grinder or etching solution, cleaning supplies, crack repair materials, a moisture meter, an epoxy coating kit, application tools, spike shoes, and safety equipment.
Step-by-Step Guide To Applying Epoxy Floor Coating
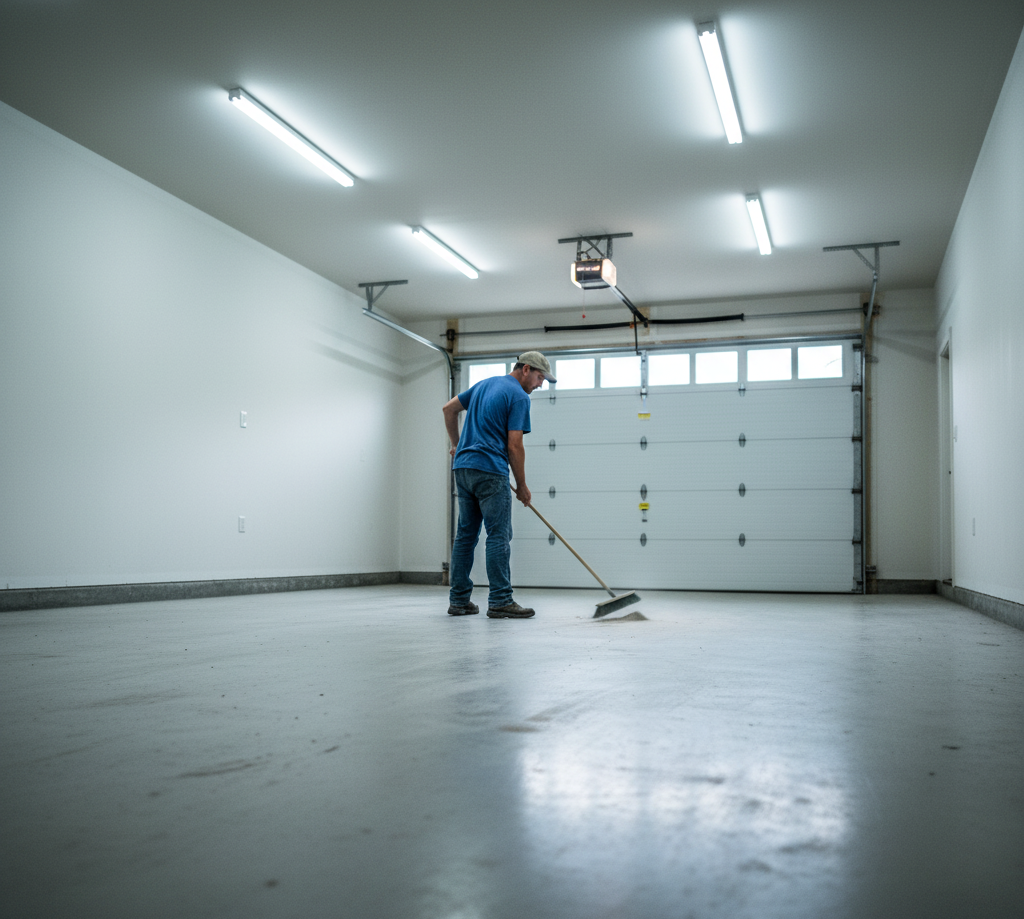
When it comes to DIY epoxy floor coating, success largely depends on following the correct steps in the right order.
Step 1: Prepare and Clean the Surface
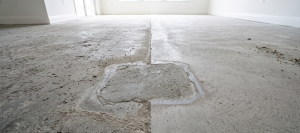
Surface preparation accounts for approximately 80% of your project’s success. Remove all items from the garage and sweep it thoroughly. Grind or etch the concrete to open pores. Grinding produces better results, but it requires renting equipment. Clean oil stains with a degreaser.
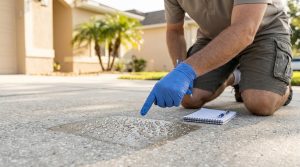
Repair all cracks using a concrete patching compound, allowing them to cure fully. Test for moisture using a moisture meter. High readings indicate that professional mitigation is necessary before coating. Florida’s high humidity makes this step especially important if you want your epoxy coating to last.
Step 2: Apply Primer
Mix the primer according to the instructions. Apply a thin, even coat using a roller. Work in small sections to maintain a wet edge. Allow it to cure properly (usually 4-8 hours) before applying epoxy coating. Don’t skip the primer because it dramatically improves the strength of the bond.
Step 3: Mix and Apply Epoxy Coating
Based on the instructions, mix the epoxy components using precise ratios. Pour the hardener into the resin and mix thoroughly for 3 to 5 minutes. Don’t undermix.
Pour the mixed epoxy onto the floor in a ribbon pattern and spread it using a squeegee. Then, back-roll with a textured roller. Work quickly, as epoxy coating has a limited working time (typically 30 to 45 minutes). Apply decorative color flakes if desired while the epoxy is still wet.
After the base coat cures (12 to 24 hours), apply a clear top coat using the same techniques for protection and a glossy finish.
Step 4: Cure and Protect
Allow the floor to cure properly before use. Protect it from moisture, debris, and traffic as it cures. Light foot traffic is typically possible after 24 hours, but wait 5 to 7 days before driving vehicles onto the new epoxy coating.
We recommend planning your epoxy floor coating project during periods of lower humidity and stable temperatures for optimal results.
Common DIY Mistakes and How To Avoid Them

Let’s examine common mistakes that often ruin DIY epoxy projects.
- Inadequate surface preparation causes poor adhesion and peeling
- Incorrect mixing ratios prevent proper curing
- Working too slowly creates lap marks and uneven finishes
- Applying coatings during high humidity causes blushing, bubbling, and failure
- Skipping moisture testing can lead to delamination
- Using floors too soon damages coatings
If your garage is over 500 sq. ft., the concrete is cracked or damaged, you don’t have the right equipment, or Florida’s humidity is making the job harder, consider professional installation. It often costs less than repairing a failed DIY attempt.
Get Professional Results Without the DIY Hassle
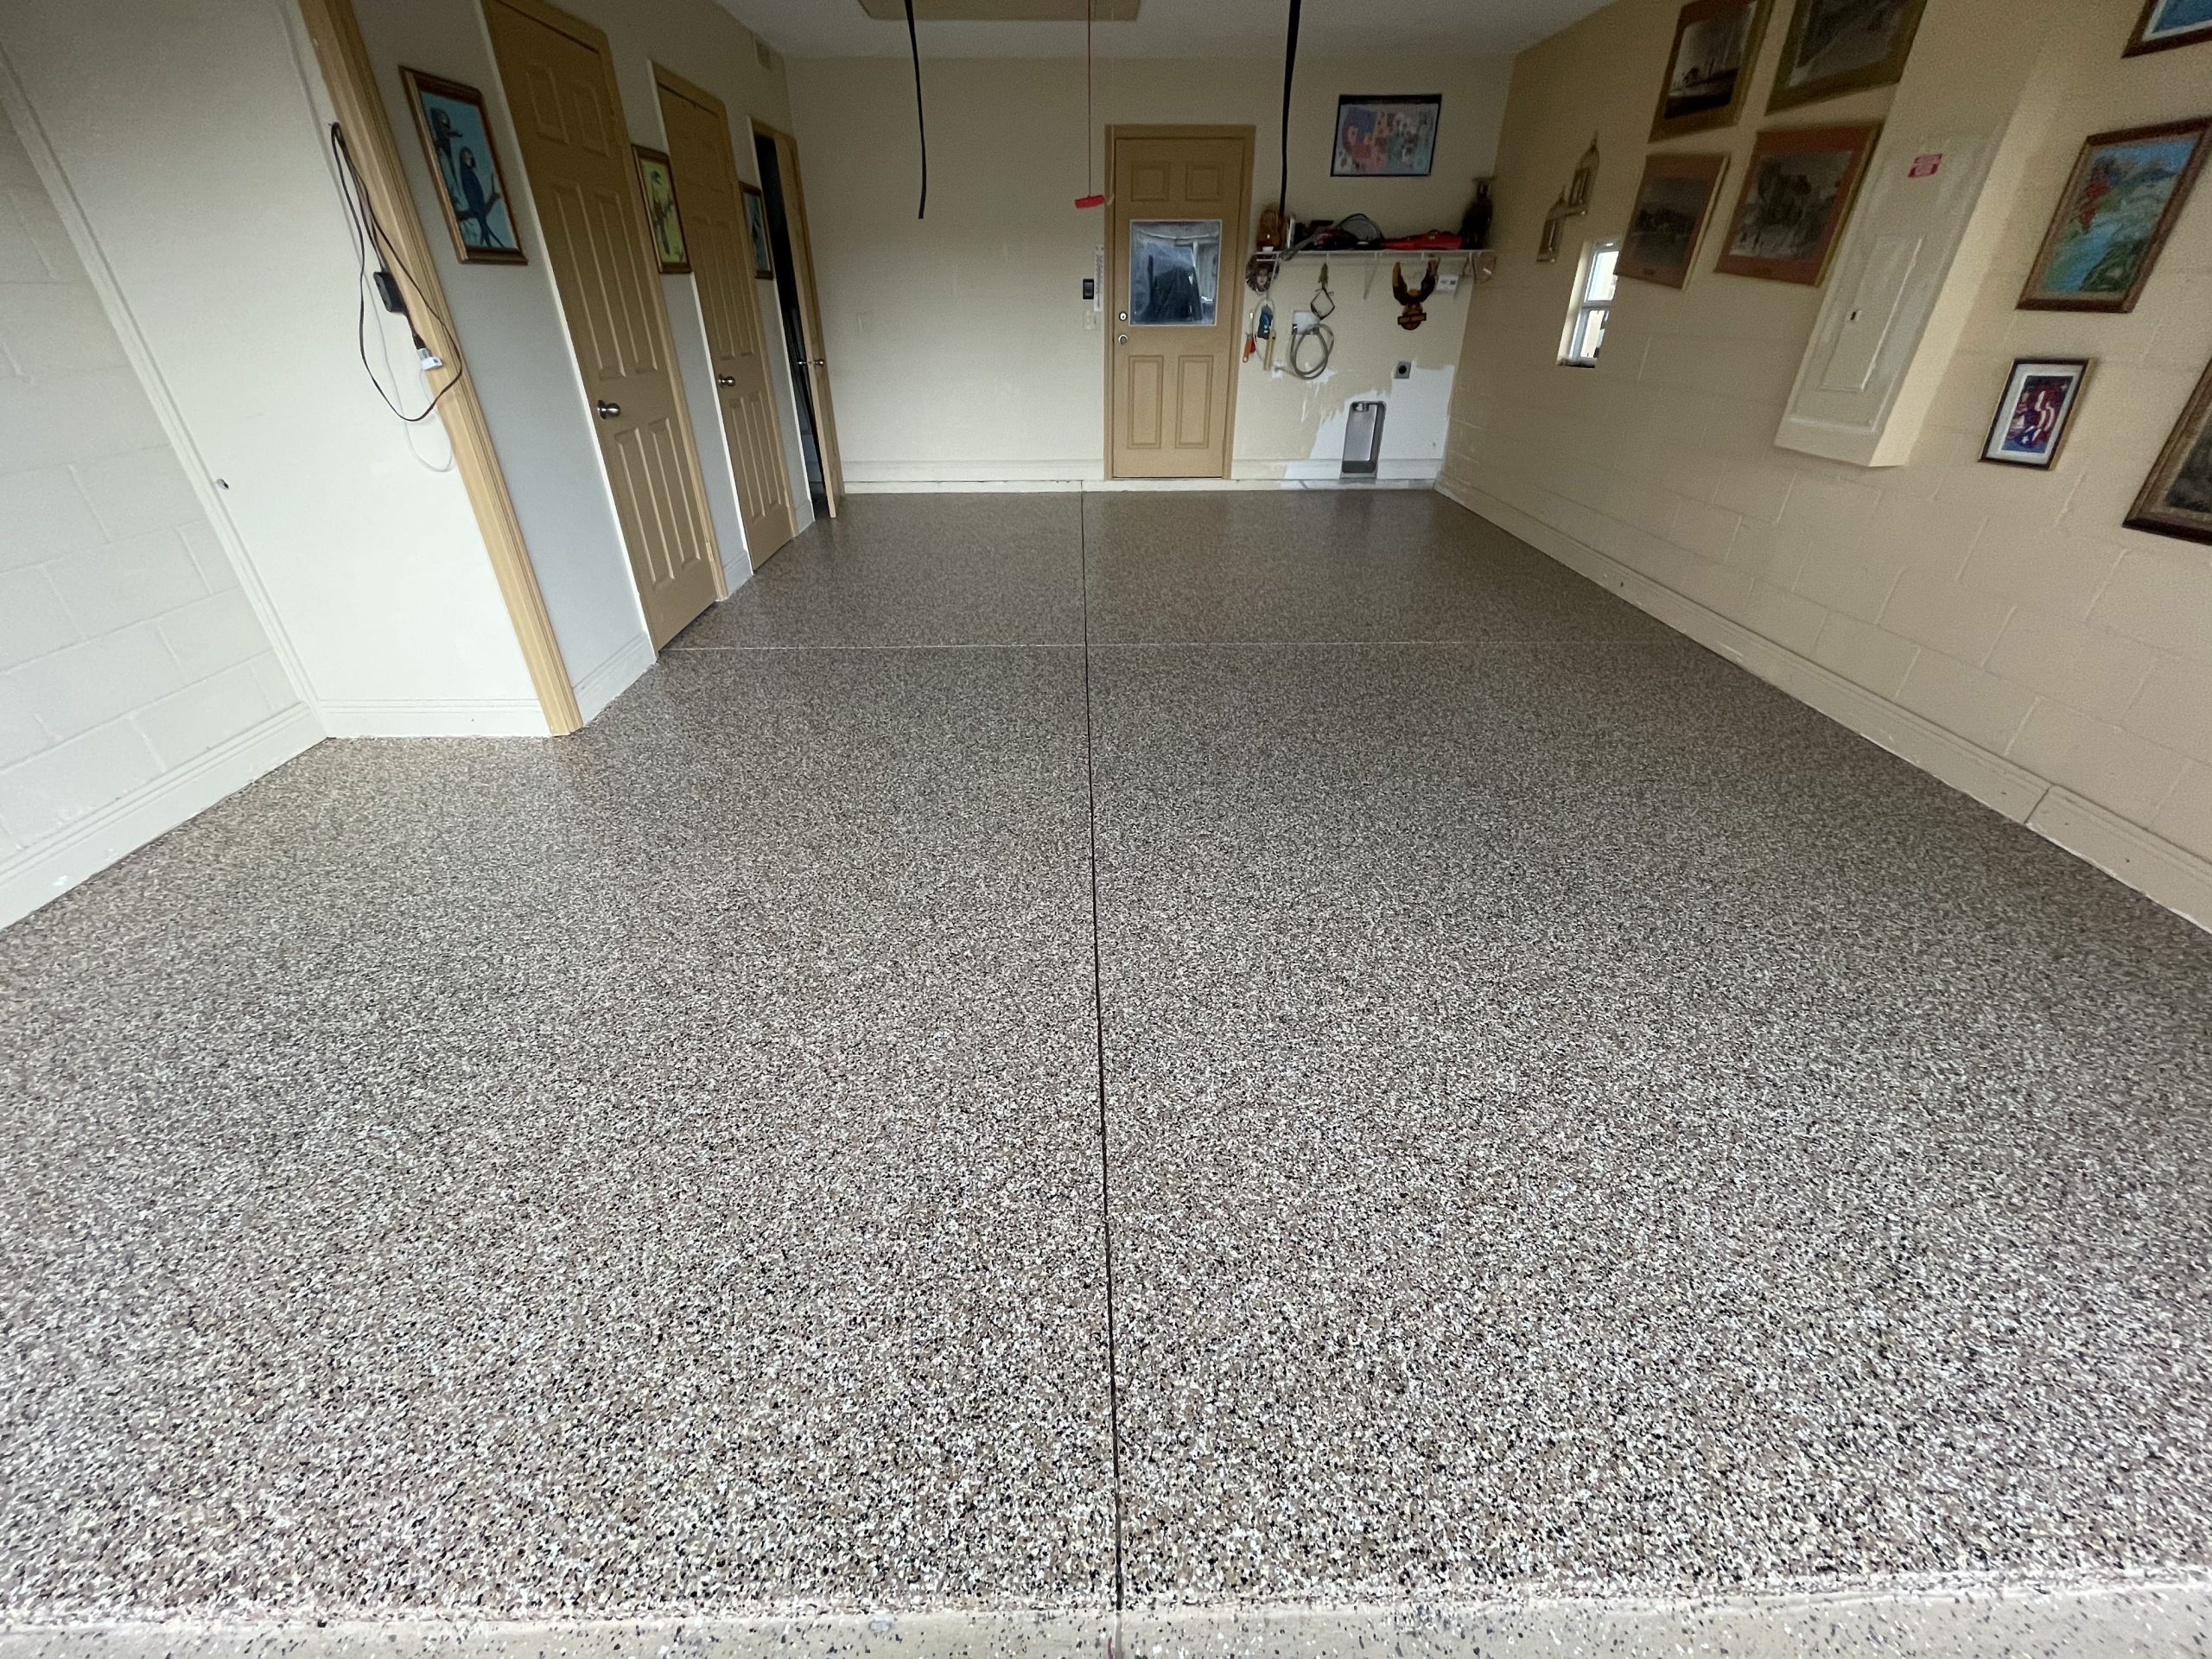
Knowing how to do epoxy floor coating correctly puts you in a position to decide whether DIY fits your situation. Some homeowners have the skills, time, and patience to achieve good results. Many discover that professional installation would have been the smarter move. There’s no shame in either choice. You simply need to honestly assess your capabilities and willingness to tackle challenges.
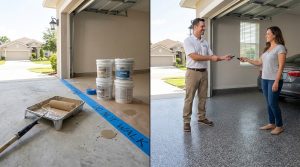
If you decide DIY isn’t worth the risk or hassle, Coating Designs provides professional concrete coating installations throughout Central Florida. We’ve also helped homeowners rescue failed DIY projects, though starting with professional installation costs less than fixing mistakes. If you’re ready to discuss your options, contact us for a free quote.

Reinaldo Morera is the founder of Coating Designs in Orange County, FL. Specializing in advanced concrete coatings and decorative finishes, Reinaldo combines innovative technology with expert craftsmanship to transform ordinary floors into extraordinary spaces. He is a trusted local voice for those looking to enhance their property with resilient, low-maintenance flooring.